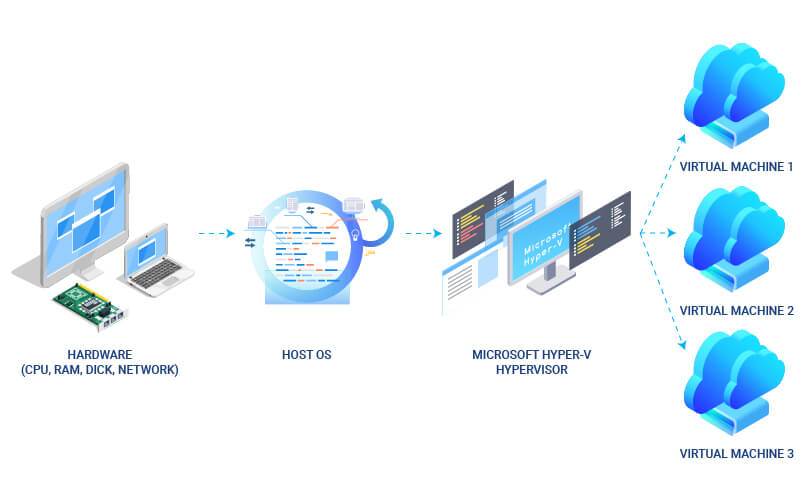
What is Microsoft Hyper-V?
Hyper-V is Microsoft’s hardware virtualization product. It lets you create and run a software version of a computer, called a virtual machine. Each virtual machine acts like a complete computer, running an operating system and programs. When you need computing resources, virtual machines give you more flexibility, help save time and money, and are a more efficient way to use hardware than just running one operating system on physical hardware.
Hyper-V runs each virtual machine in its own isolated space, which means you can run more than one virtual machine on the same hardware at the same time. You might want to do this to avoid problems such as a crash affecting the other workloads, or to give different people, groups or services access to different systems.

Why Hyper-V is a good virtualization solution?
We will list several examples of why Hyper-V is a good virtualization solution:
Provide more flexible, on-demand IT services by moving to or expanding your use of shared resources and adjust utilization as demand changes.
Consolidate servers and workloads into fewer, more powerful physical computers to use less power and physical space.
Minimize the impact of both scheduled and unscheduled downtime of your workloads.
Use a centralized desktop strategy with VDI can help you increase business agility and data security, as well as simplify regulatory compliance and manage desktop operating systems and applications. Deploy Hyper-V and Remote Desktop Virtualization Host (RD Virtualization Host) on the same server to make personal virtual desktops or virtual desktop pools available to your users.
Reproduce different computing environments without having to buy or maintain all the hardware you’d need if you have only used physical systems.
How to create a Virtual Machine on Microsoft Hyper-V
Prerequisite for creating Virtual Machines are to have installed Microsoft Hyper-V Manager software on your Windows Server (for this purpose we will use Microsoft Hyper-V Manager 6.2.9200.16384 on Widows Server 2016 Standard).
2. From the menu click Action, then New, then Virtual Machine and a new window will open, click Next to proceed Virtual Machine configuration.
3. Give a Name for your Virtual Machine and choose store location, then click
4. Assign Memory to your Virtual Machine and click
5. Choose Network Adapter from the list for your Virtual Machine and click
6. Create a virtual hard disk for your Virtual Machine and click
7. Connect your Virtual Machine with ISO image in order to install operating system and click
8. Read the Summary about your configuration and if everything is ok click
9. Your Virtual Machine has been created and you can see it in Virtual Machines menu, in order to start it, click right click on Virtual Machine name, then click
10. Now we need to connect on Virtual Machine in order to install operation system, click right click on Virtual Machine name, then click
11. New screen will open, now follow the OS installation wizard to install the OS on your VM.
Related Posts |